









12-Volt help center
How your 12V heating system works
One connection to your bike powers your whole kit. Pick the right fuse, connect your gear, install your harness, and ride warm.
Our interconnected system
One connection, head to toe
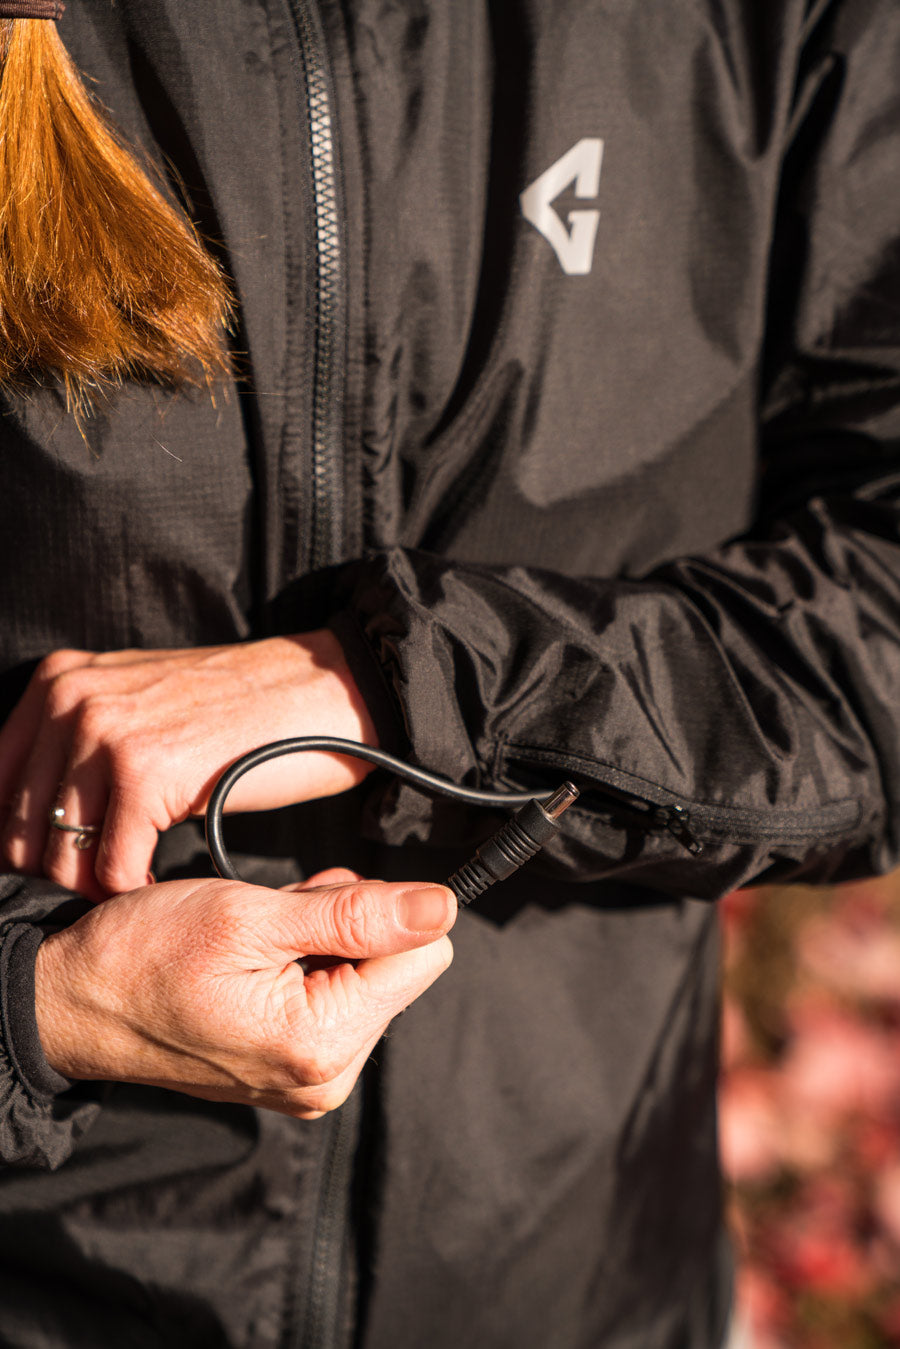
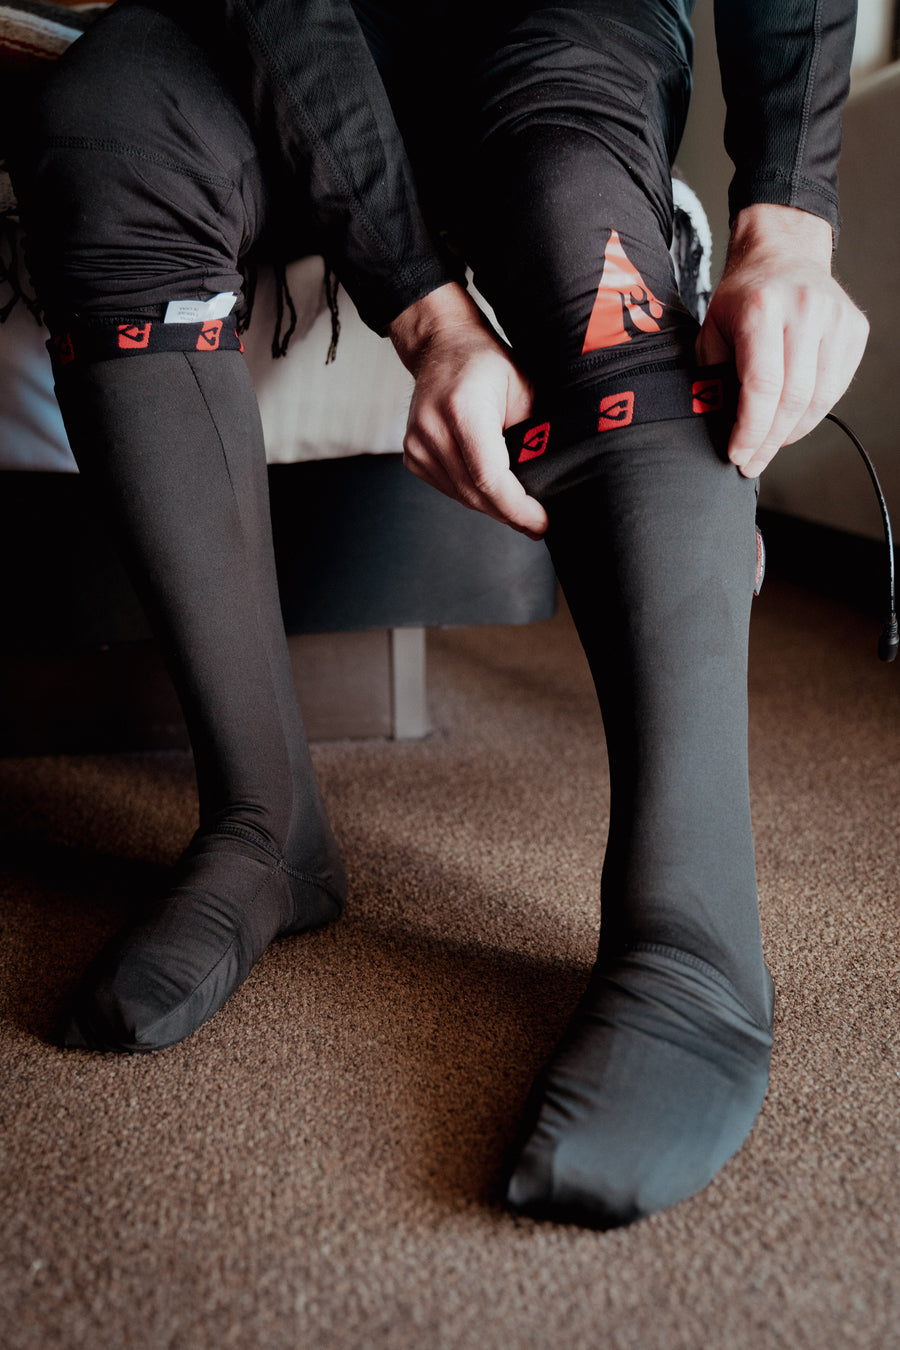
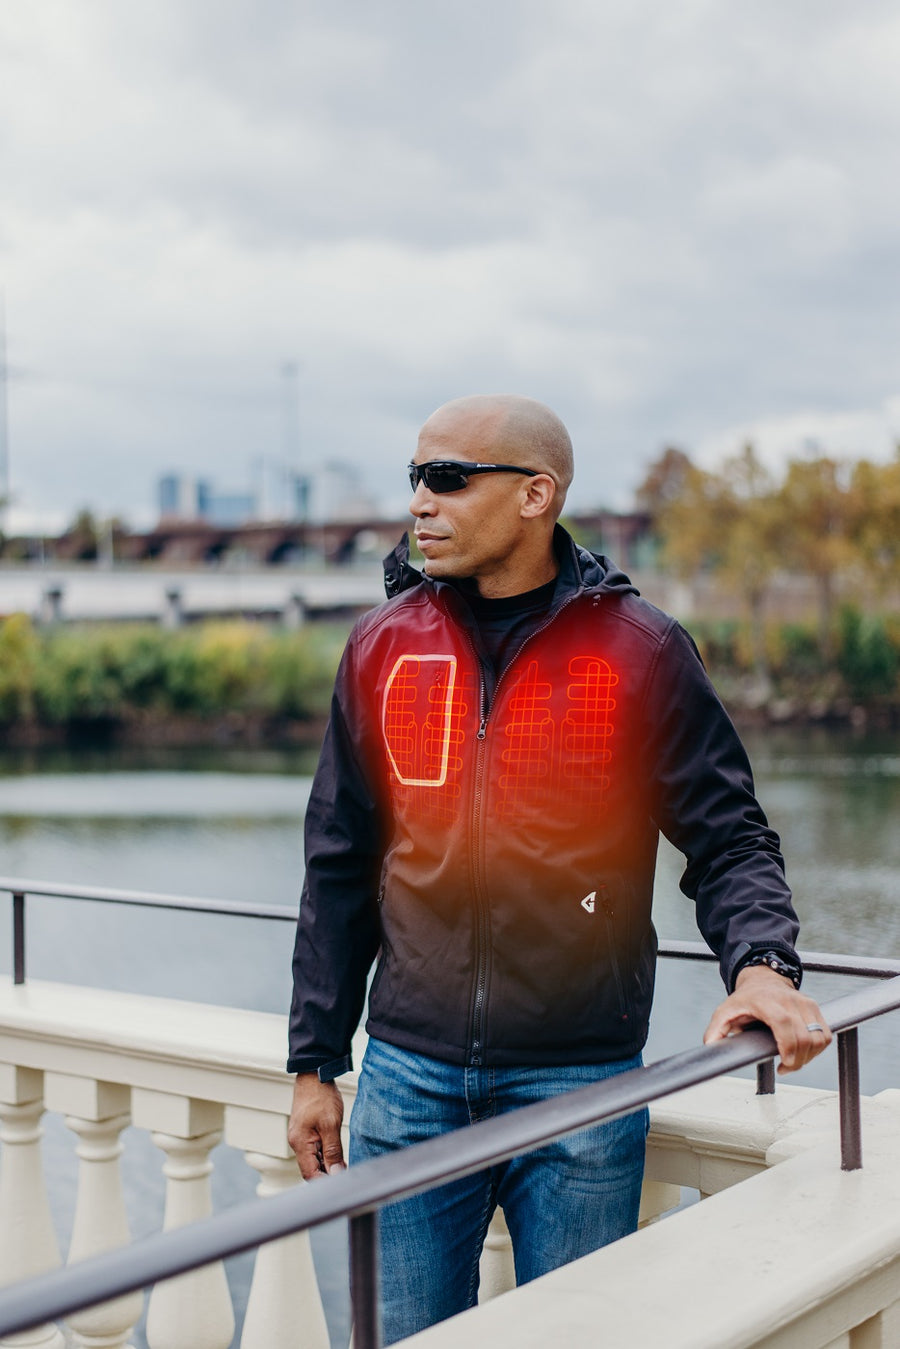
Wear a jacket, gloves, pants, and socks or insoles — all powered by one simple connection to your motorcycle's 12-volt battery. Every 12V installation requires a Gerbing battery harness and temperature controller for operation.

How it works
See it in action
12V fuse selector
What color fuse should I install?
Add each piece in your 12V outfit to total its value, then install the fuse color that matches. Always install the fuse after the battery harness.
Build your 12V outfit
Total value
Recommended fuse
Add items to begin
Older Gerbing models may combine differently with newer models. If you are unsure which fuse to use, contact customer support.
Plug-in guide
How to connect your 12V gear
With a dual controller, your gear links together in a simple chain. Connect in this order — see the diagram below to match each plug. All installations require a battery harness & temperature controller (sold separately).
Gloves → sleeves
Plug each glove into the matching jacket sleeve plug.
Jacket → controller
Connect the jacket plug into the temperature controller.
Gloves → controller
On a dual controller, connect the gloves into the second channel.
Accessory → pants / footwear
Link the accessory plug into the pants or footwear plug.
Pants → jacket / vest
Connect the pants plug up into the jacket or vest plug.
Footwear → socks → pants
Footwear into sock/insole, then footwear plug into the pants plug.
Power → battery harness
Connect the power plug into the female plug on the battery harness.
Learn From a Pro
Step-by-Step Guide
Battery harness install
Installing your battery harness
We strongly recommend always using a Gerbing battery harness. Refer to the seat & battery sections of your motorcycle's manual for model-specific details.
Disconnect the battery
Remove the (−) negative cable & bolt first, then the (+) positive cable & bolt.
Identify the connectors
Find the (+) positive and (−) negative ring/hook connectors on the harness.
Install (+) first
Bolt the (+) connector in front of the (+) battery cable and tighten.
Install (−) next
Bolt the (−) connector in front of the (−) battery cable and tighten.
Route the harness
Run it to the left side, leaving a few inches of plug out from under the seat.
Install the fuse
Add the colored fuse last — use the fuse selector above to pick the right one.
Harness & fuse diagram

12V Power Connections
Learn More
Important safety note
One harness per rider — never share
Each rider should use their own battery harness, power cord, and controller. Separate heated garments worn by two individuals must not be interlinked and must not share a battery harness.
Turn off your gear before you turn off your engine. Do not switch on Gerbing heated gear if the motorcycle engine is off or running below the indicated engine speed — damage to the gear and electrical system may occur. Use Gerbing 12-volt plug-in heated gear on a 12-Volt DC circuit only, in accordance with the manufacturer's specifications and instructions.
FAQ & troubleshooting
What kind of battery harness should I use to power my Gerbing® heated gear?
For guaranteed safety and quality assurance, we recommend only using the Battery Harness sold by Gerbing® Heated Gear.
Can I use the Battery Tender harness already installed on my motorcycle?
It is not recommended to power Gerbing gear using the Battery Tender harness that may already be installed on your motorcycle.
What if I have to use the Battery Tender harness already installed on my motorcycle?
If using the Battery Tender harness, you'll need a female adapter and must confirm the Battery Tender has the correctly rated fuse for your gear combination. This method bypasses the Battery Tender's built-in safety provision. If you're only using one harness, we recommend installing a Gerbing Battery Harness and using the male adapter to charge your battery.
We recommend keeping both harnesses: install a Gerbing Battery Harness to power the gear, and use the Battery Tender harness to charge your battery.
How do I control the temperature of my Gerbing® heated gear?
We offer a Dual Bluetooth Controller, Dual Wireless Controller with optional remote, Single Controller, Dual Permanent Controller, and Single Permanent Controller. See the website for details on our temperature controllers.
What kind of voltage does my Gerbing® heated gear require?
Use Gerbing® 12-volt plug-in heated gear on a 12-Volt DC circuit only. Heated gear must be used in accordance with the manufacturer's specifications and instructions.
How can I share my Gerbing® heated gear with a passenger?
If gear will be worn by both rider and passenger, install two Battery Harnesses to the battery terminals and use two controllers to control each person's gear. Never interlink two riders' garments on a single harness.
When should I turn my Gerbing® heated gear on or off?
Turn off your gear before you turn off your engine. Do not switch on Gerbing heated gear if the motorcycle engine is off or running below the indicated engine speed — damage to the gear and electrical system may occur.
Still need a hand?
Our trained experts can help troubleshoot any issue. Call 800-646-5916 or email [email protected].
Contact us